Baby Car Travel Safety Guide
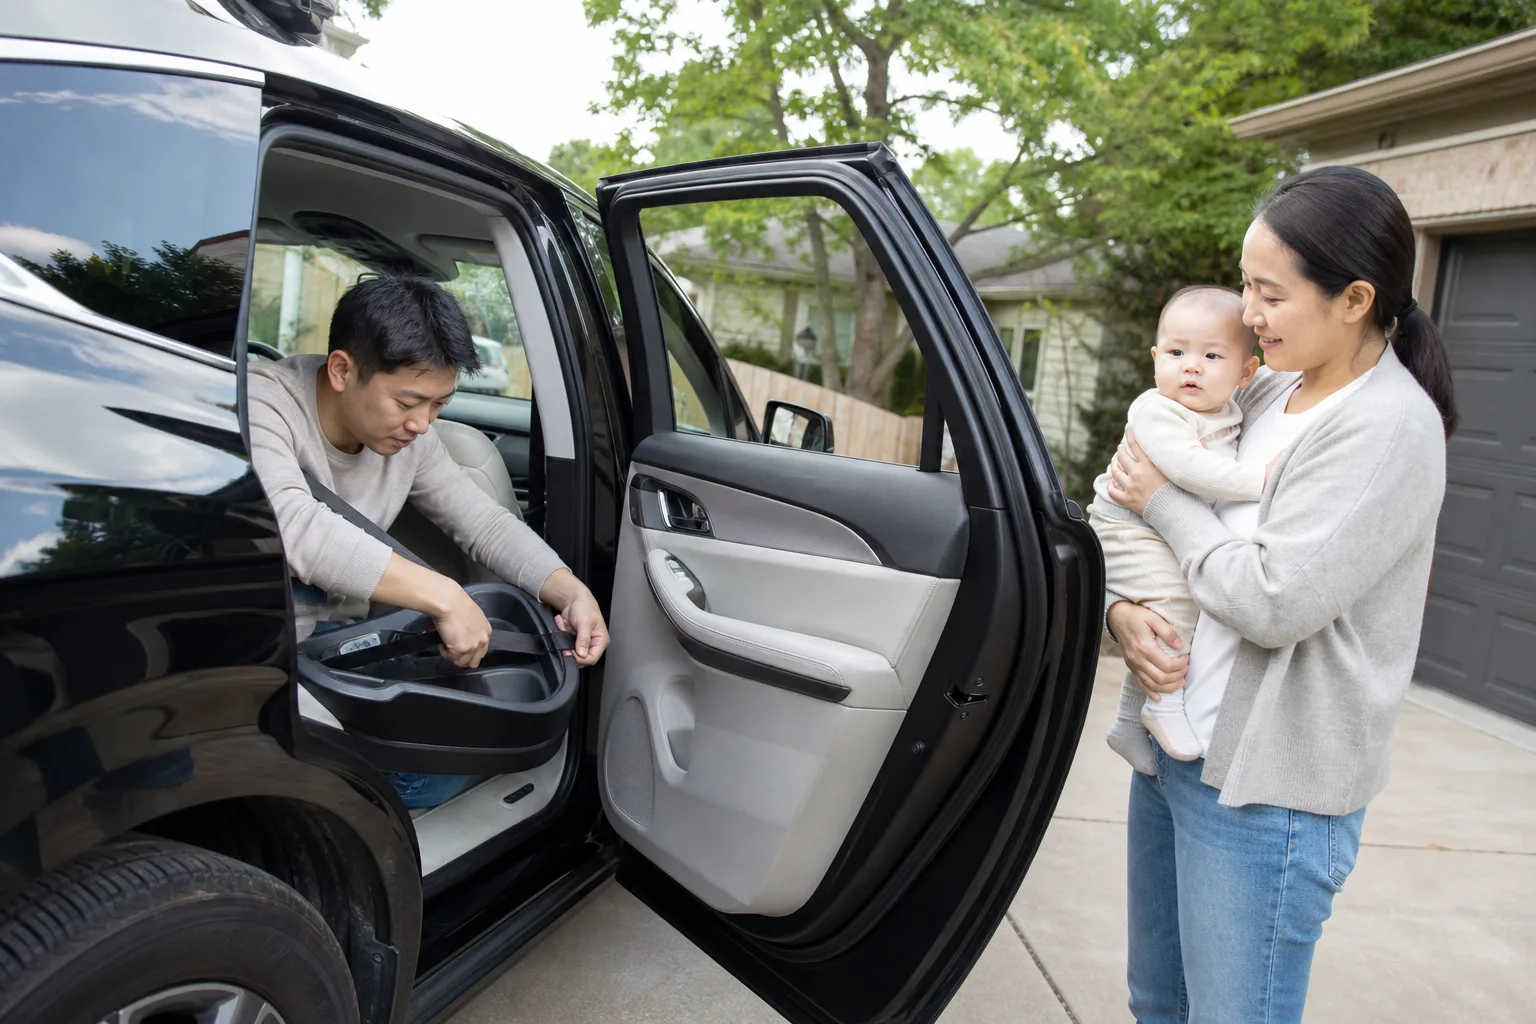
A safe trip starts before the engine. Match the seat to the baby's size, install it rear-facing in the back seat, secure the harness according to the manual, and plan stops before anyone becomes rushed.
SUMMARY
Keep babies rear-facing until they reach the seat manufacturer's rear-facing height or weight limit. Read both manuals, use the approved belt path or lower anchors, confirm the base moves no more than one inch at the belt path, and keep the harness flat and snug. Stop in a safe place for feeding, diapering, repositioning, or any breathing, color, alertness, or temperature concern. Never feed in a moving vehicle or leave a baby alone in a parked car.
Choose the correct restraint
Begin with rear-facing in the back seat. Select a seat approved for the baby's current height, weight, and developmental needs. An infant should ride rear-facing in the back seat. The model must also fit the vehicle and be usable correctly on every trip. Registration helps families receive recall notices. A used seat needs a known history, all parts and labels, an unexpired service life, and no crash or damage that disqualifies it under the manufacturer's instructions. Marketing features never replace fit, approval, or correct daily use.
Read both manuals before installing
The child-seat manual explains allowed installation methods, belt paths, recline settings, inserts, carrier handle position, harness routing, size limits, cleaning, and replacement after a crash. The vehicle manual identifies seating positions, air bags, belt locking, lower anchors, and any restrictions. Use the seat belt or lower anchors exactly as directed; do not combine methods unless both manufacturers allow it. Never place a rear-facing seat in front of an active passenger air bag. When wording conflicts or remains unclear, stop and use qualified fitting help.
Test the installation at the belt path
Check manual-based installation. Press and tighten according to the selected installation method. Then hold the seat or base where the belt or approved anchor strap passes through it. It should not move more than one inch side-to-side or front-to-back at that point. Movement at the far end of a rear-facing seat can be normal and is not the installation test. Confirm the required recline with the built-in indicator and manual. For an infant carrier, verify the carrier locks fully into its base before driving.
Fit the baby without added padding
Confirm flat snug harness. Place the baby's back and bottom flat against the seat. For rear-facing use, route the shoulder straps through the slot specified by the manual, commonly at or below the shoulders. Remove twists, buckle every required part, and tighten until you cannot pinch extra webbing at the shoulder. Follow the product's instructions for any chest clip because approved designs differ by market. Use only inserts supplied or explicitly approved by the manufacturer. Do not add cushions, head supports, or padding behind the baby.
Keep clothing thin under the harness
Puffy coats, thick snowsuits, and bulky blankets can create hidden slack. Dress the baby in thin fitted layers, buckle and tighten the harness, then place a blanket or coat over the secured straps if warmth is needed. Keep all fabric away from the face and airway. Check that the baby is not overheating, and remove outer warmth as the vehicle cabin heats. Never loosen the harness to accommodate a bulky layer. A cold-weather cover must not pass behind the baby or interfere with the harness unless the seat manufacturer approves it.
Plan stops and safe sleep
Car seats are travel restraints, not routine sleep spaces outside the vehicle. A baby may doze while riding in a correctly installed seat, but the baby should be moved to a firm, flat, approved sleep surface after arrival. For longer trips, plan safe places to stop and remove the baby for care. AAP travel guidance suggests breaks about every two to three hours by day and every four to six hours at night, with earlier stops whenever needed. These planning intervals never override breathing, posture, temperature, feeding, or distress concerns.
Feed and reposition only after parking
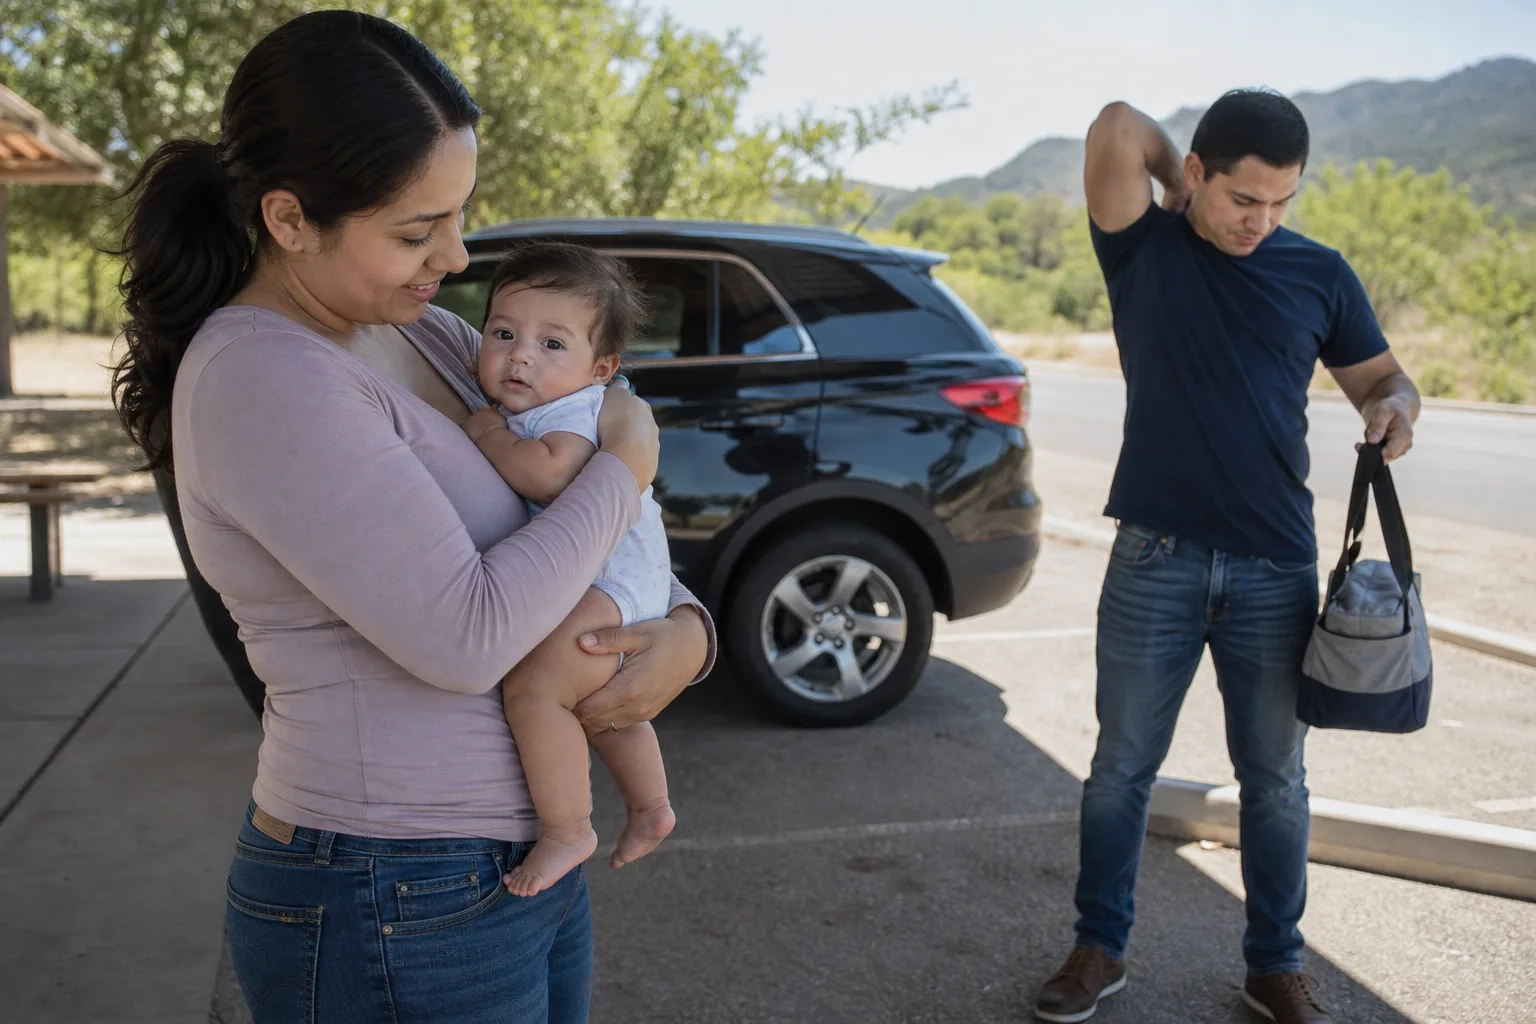
Never breastfeed, bottle-feed, unbuckle, or reposition a baby while the vehicle is moving. The driver should not reach into the back seat. Pull over at a safe location, stop fully, and attend to the baby. Another adult in the back can observe the baby's posture and needs, but cannot make unsafe adjustments during motion. Keep needed supplies accessible for the stop, not loose where they can become projectiles. Resume travel only after the baby is correctly buckled and the driver can focus on driving.
Use clear stop and emergency rules
Know safe stops and no unattended car. Stop promptly for chin-to-chest slumping, difficult or noisy breathing, color change, repeated vomiting, overheating, unusual limpness or sleepiness, poor feeding, or distress that does not settle. Contact the pediatrician for persistent symptoms or special travel questions involving prematurity, low birth weight, airway conditions, casts, or medical equipment. Call emergency services for severe breathing trouble, blue or gray color, seizure, marked unresponsiveness, or inability to wake. Never leave a baby unattended in a parked car, even briefly.
Make a repeatable departure routine
Assign one adult to the same short sequence: seat direction, base movement, recline indicator, carrier lock, harness routing, buckle, snugness, clothing, face clearance, and back-seat check. Repeat the sequence after another caregiver installs the seat, after cleaning, after moving it between vehicles, and whenever something looks different. A click sound alone does not prove every connection is secure. Touch and visually confirm the required indicators without relying on generated diagrams, memory, or another model's instructions.
Prepare for a hospital ride home
Install the seat before birth when possible and practice with the manual, not with an improvised insert. Bring the empty seat for any required hospital check, while keeping the newborn supported by an adult until placement. Premature and low-birth-weight babies may need individualized positioning or observation before discharge. A hospital check does not replace correct installation in the family vehicle. Ask who can help with fit, what approved insert is required, and what signs should prompt a stop or medical review on the ride home.
Prevent heat injury at every stop
A parked vehicle can become dangerous quickly, and shade or partly open windows do not make it safe. Build a habit of checking the entire vehicle, especially the back seat, before locking. Place an essential personal item in the back seat when appropriate, arrange a missed-arrival call with childcare, and keep keys away from children. Every adult leaves the vehicle with the baby. If a child is found alone in a locked car, call emergency services and follow dispatcher instructions immediately.
Share instructions with every driver
Grandparents, relatives, childcare staff, and occasional drivers need the same seat, installation, harness, and no-unattended-car rules. Show them the exact manuals and have them demonstrate the departure check. Confirm that the seat fits their vehicle and that they know how its belt or anchors lock. Do not assume familiarity with a different brand or older model transfers to this one. Leave emergency contacts and medical information available, but keep the driver's phone out of reach while the vehicle is moving.
Know when professional fitting helps
Qualified child passenger safety technicians or local fitting services can teach a caregiver to install and use the seat correctly. Seek help before the first ride, after changing seats or vehicles, when the base cannot meet the movement test, when the recline is unclear, or when a baby's anatomy or medical equipment changes fit. Bring the child, seat, vehicle, and both manuals when the service requests them. The goal is not simply to have someone install it once, but to leave able to repeat the correct process independently.
Frequently asked questions
Can one wet diaper rule out dehydration?
No. Use the full-day trend, feeding, and whole-body signs.
Should I give water to fix a low count?
Not to an infant under six months unless a clinician specifically directs it. Ask your pediatrician.
Can I wait until the log is complete?
No. Emergency signs or a clear contact threshold take priority over documentation.
Sources
This article provides general information and is not medical advice. Ask your pediatrician about reduced urine, feeding concerns, or guidance tailored to your baby.